Creating a centerpiece can be a rewarding and creative project. Here are the step-by-step instructions to guide you through the process:
Materials Needed
- Large vase or container
- Floral foam (optional for more stability)
- Floral tape or chicken wire (for structure)
- Scissors or floral shears
- Floral preservative (optional)
- Selection of flowers (various sizes, shapes, and colors)
- Foliage (greens to fill out the arrangement)
- Water

Step-by-Step Instructions
One of the most compelling reasons couples choose to DIY their wedding flowers is the potential for significant cost savings. Professional floral arrangements can be expensive, with costs running into thousands of dollars depending on the scale and complexity of the design. By opting to create your own arrangements, you can often cut these costs by half. This is primarily because:
- Prepare the Container
Clean the Vase: Ensure your vase or container is clean to prevent bacterial growth.
Add Floral Foam (Optional): If using floral foam, cut it to fit the container, soak it in water with floral preservative, and place it securely in the vase. Alternatively, you can use chicken wire or floral tape to create a grid at the top of the vase for added structure. - Prepare the Flowers
Condition the Flowers: Remove any leaves that will be below the waterline to prevent rot. Cut the stems at an angle to increase water absorption.
Hydrate the Flowers: Place the flowers in water with floral preservative and let them sit for a few hours before arranging. - Create the Base
Add Water: Fill the vase with water mixed with floral preservative.
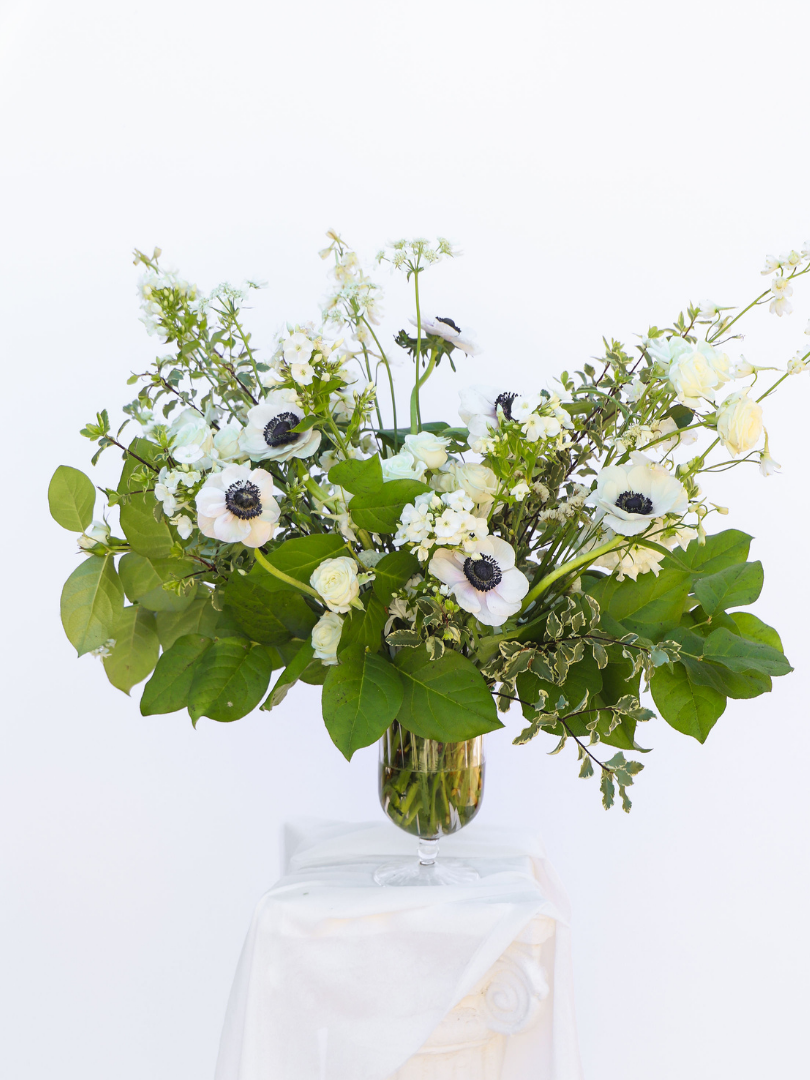
Start with Foliage: Begin by adding greenery to form the base and shape of your arrangement. This will provide structure and fill out the design. Insert stems at different angles for a natural look. - Add Large Focal Flowers
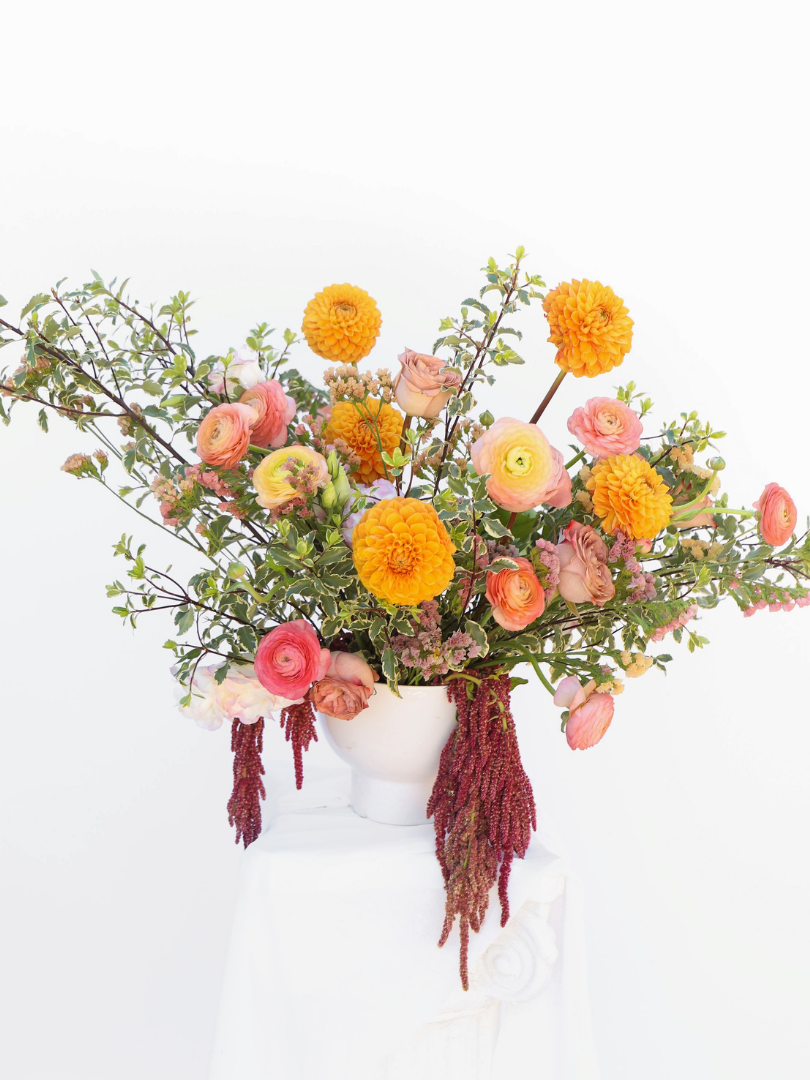
Place the Largest Flowers: Add the biggest, most eye-catching flowers first. These will be the focal points of your arrangement. Place them evenly throughout the arrangement to create balance.
Use Odd Numbers: Arrange focal flowers in odd numbers (e.g., three or five) for a more natural and visually appealing look. - Insert Secondary Flowers
Fill with Medium Flowers: Add the medium-sized flowers around the focal flowers. These should complement the larger flowers and help to build up the shape of the arrangement.
Create Depth: Place some flowers deeper in the arrangement and some extending outward to create depth and dimension. - Add Smaller Filler Flowers
Fill Gaps: Use smaller flowers and filler flowers to fill any gaps and to add texture and variety. These flowers should enhance the overall look without overpowering the focal flowers. - Final Touches with More Foliage
Add More Greenery: Fill in any remaining spaces with additional greenery. This will help blend the flowers together and provide a cohesive look.
Check for Balance: Step back and view the arrangement from different angles to ensure it’s balanced and visually pleasing. Make adjustments as needed. - Finishing Up
Trim Stems if Needed: Ensure that all stems are submerged in water. Trim any that are too long.
Maintenance: Keep the arrangement in a cool place away from direct sunlight and drafts. Check water levels daily and top up with water as needed.
With these steps, you should be able to create a stunning large flower arrangement that can brighten up any space or occasion.

Tips for Success
- Color Coordination: Choose colors that complement each other and fit the theme or occasion.
- Variety in Texture: Mix different textures by using a combination of smooth, spiky, and fluffy flowers.
- Height Variation: Vary the height of the flowers to create a more dynamic and interesting arrangement.
- Practice Patience: Take your time and enjoy the process. Arranging flowers is an art that improves with practice.
Buy your flowers in bulk. We offer the convenience of purchasing bulk flowers to simplify the process of creating your own wedding flowers.